
If you’ve ever wanted to protect your smartphone screen on a more extensive surface without using a conventional projector, don’t worry. You may accomplish this without spending a fortune using cutting-edge techniques and tools.
This article will explore great ways to project your smartphone screen onto a wall to enjoy a sharper, more immersive view without worrying about setting up a projector.
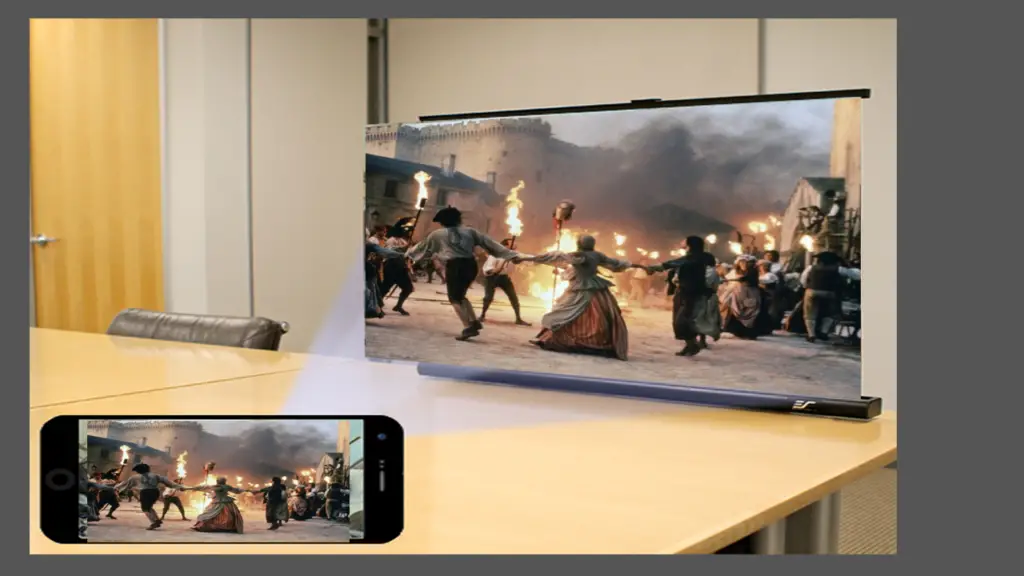
Using Apps for Screen Mirroring
Using screen mirroring apps is one of the simplest and most fundamental ways to project your mobile screen. Here is how to use screen mirroring programs to project your mobile screen onto a more prominent display step-by-step:
Step 1: Choose a Suitable App
The first step is to choose a screen mirroring program that works with both your smartphone and the larger panel you wish to project onto. Many smart TVs and other devices support and are frequently used for popular apps like “Screen Mirroring” or “AirPlay Mirroring.”
Step 2: Install the App
On your smartphone, download and install the selected screen mirroring app. These apps can be found in the app shop for your device, such as the App Shop for iOS or the Google Play Store for Android.
Step 3: Connect to a Compatible Smart TV
Make sure the larger display you intend to use or your smart TV supports screen mirroring via the app of your choice. For the mirroring to function correctly, your smartphone and the TV must be linked to the same Wi-Fi network.
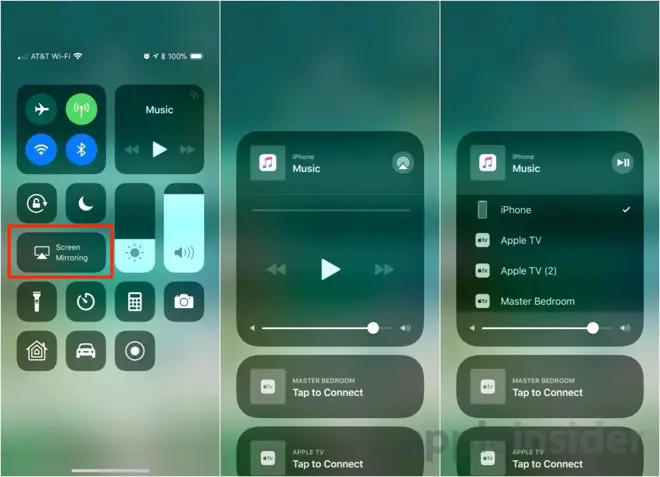
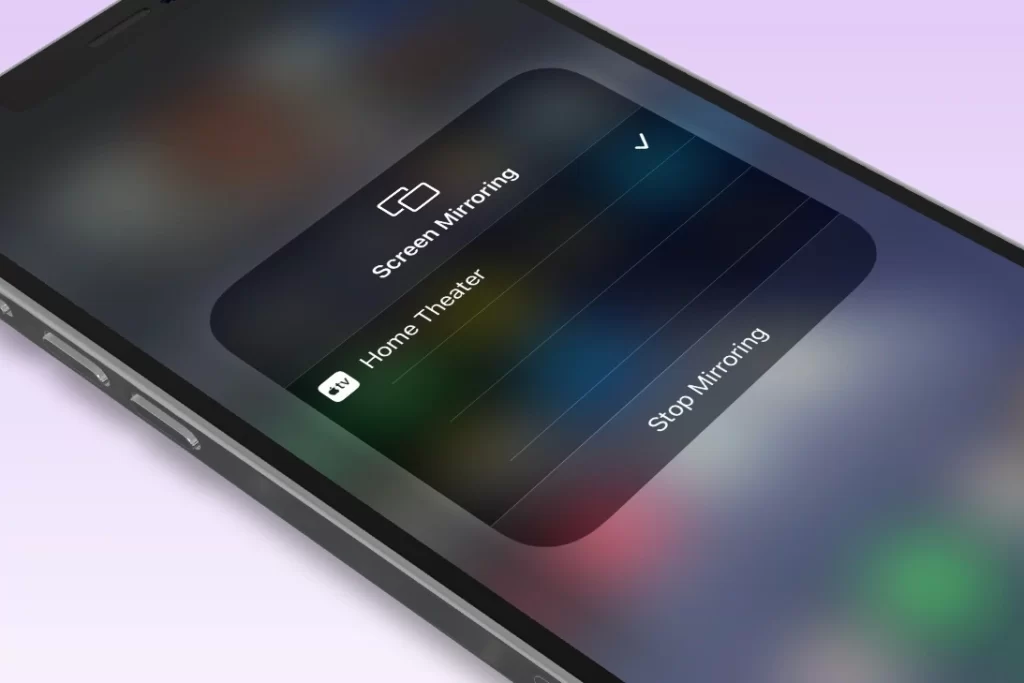
Step 4: Enable Screen Mirroring
Launch the screen mirroring app on your smartphone and adhere to the on-screen directions to activate screen mirroring. This can entail going to the app’s settings or starting the procedure using a quick shortcut.
Step 5: Select the Larger Display
Your smartphone will search for available devices for projection once screen mirroring is enabled. Choose the larger display or your compatible smart TV from the list of supported devices.
Step 6: Start Mirroring
Your phone’s screen will mirror the bigger screen when the connection is made. On the larger canvas, you can now use your smartphone’s UI to explore, view photographs and videos, and give presentations.
Step 7: Adjust Display Settings
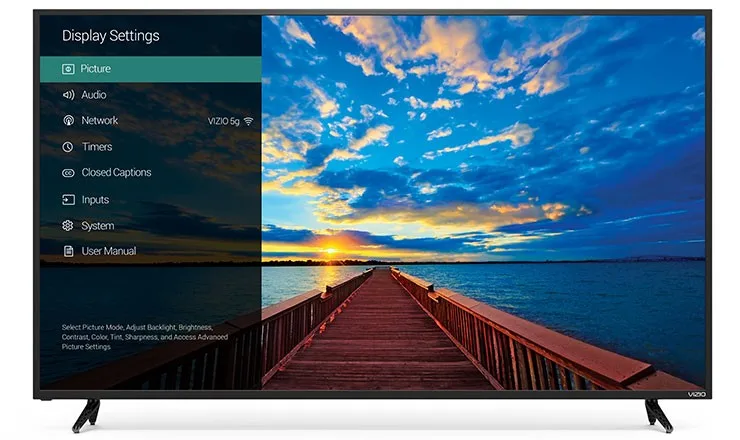
You can modify display settings, such as screen resolution or aspect ratio, depending on the app and the smart TV to enhance the viewing experience on the larger display.
Step 8: End Screen Mirroring
Simply turn off the screen mirroring function on your smartphone or disconnect from the bigger display using the settings of the app when you’re finished using it.
If you’re looking for more ideas on projecting your phone screen on the wall without a projector, you can find helpful suggestions from various people on this Quora link.
Many individuals have shared their different methods and tips that can assist you in achieving your goal.
Utilizing Chromecast for Screen Projection

Chromecast is another fantastic choice for displaying your mobile screen on a larger display without a projector. The procedure for using Chromecast to project your mobile screen onto a bigger screen is detailed below:
Step 1: Obtain a Chromecast Device
You must first purchase a Chromecast device. Electronics stores and online retailers both sell them. Ensure it has the required HDMI connectivity and is compatible with your TV.
Step 2: Set Up Chromecast
Connect the Chromecast device to a TV’s accessible HDMI port. Affix the Chromecast to a power source using the supplied USB cable and power adapter.
Step 3: Connect to the Same Wi-Fi Network
Ensure that the Chromecast device is linked to the same Wi-Fi network as your laptop or smartphone. The establishment of a link between the two devices depends on this.
Step 4: Download the Google Home App
Install the Google Home app on your PC or smartphone if you haven’t already. This app is available on both the App Store and the Google Play Store for iOS and Android devices, respectively.
Step 5: Set Up Chromecast through Google Home
To configure your Chromecast device, use the Google Home app and adhere to the instructions on the screen. This procedure includes naming the Chromecast and linking it to your Google account.
Step 6: Start Casting
Open the app or content you want to see on the bigger screen once Chromecast is configured. Find the “Cast” icon, typically displayed as a rectangle with Wi-Fi waves. Choose your Chromecast device from the available devices by tapping the Cast icon.
Step 7: Enjoy the Screen Projection
Your mobile screen content will now be projected onto the larger display connected to the Chromecast. You can watch videos, view images, browse the internet, or even present on the giant canvas.
Step 8: Control Using Your Smartphone
You can manage the material from your laptop or smartphone while your mobile screen is projected. To navigate and interact with the information, use your device’s keyboard or touch interface.
Here I’ll provide a Reddit link, as it’s a valuable resource to explore and get more creative ways. So, check it out and discover new and simple techniques to enjoy a bigger screen experience!
Creating a DIY Projector
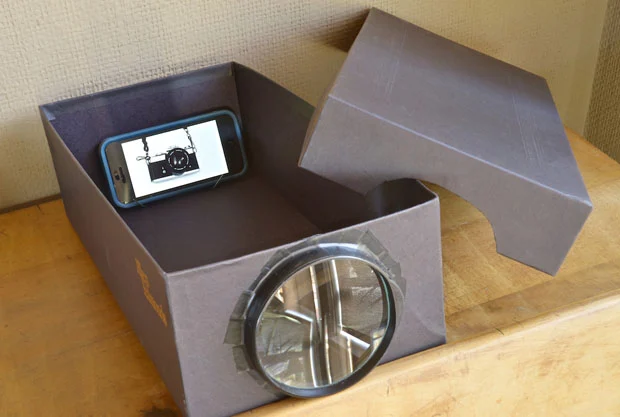
Making a DIY projector at home can be entertaining for people with a creative streak to project their mobile screen on the wall.
- A shoe box, magnifying glass, hot glue gun or tape, black paper, and binder clips are the only supplies required.
- Cutting a hole in the box for the magnifying lens, lining the inside with black matte paper to prevent light reflections, and affixing the magnifying lens to the box are the steps needed to project the light from the mobile screen onto the wall.
Check out this valuable YouTube video for creative ways to project your phone’s content on a larger surface without a projector. Discover new techniques for a bigger screen experience!
DIY Projector || How to make Smartphone Projector at home || Mr. Dharoniya
Smart TVs as a Projection Option
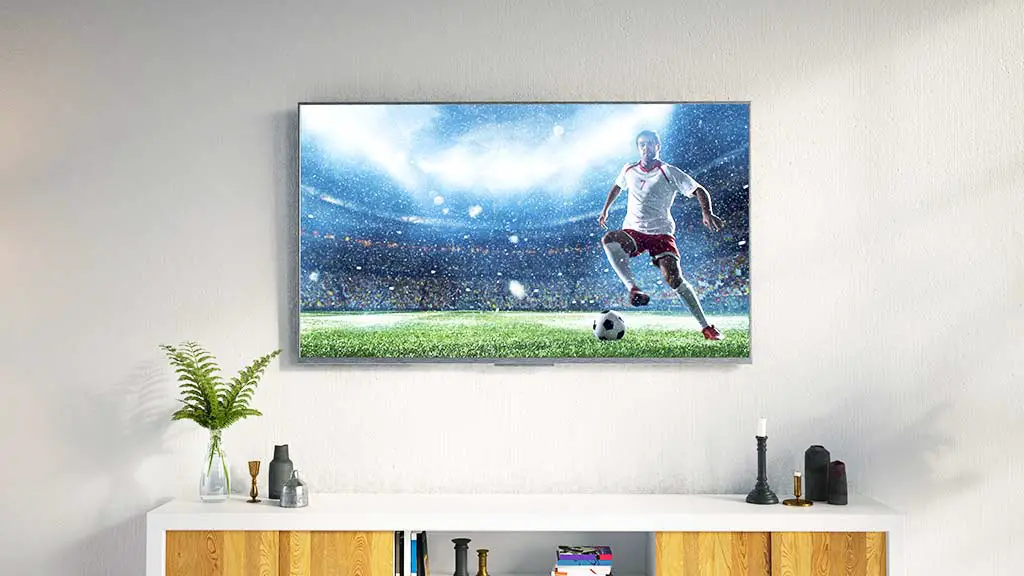
Here is a step-by-step guide on how to project your mobile screen onto a wall using a smart TV:
Step 1: Ensure Wi-Fi Connectivity
As mentioned above, please verify that your smart TV and smartphone are logged into the same Wi-Fi network. To link the two devices and enable screen projection, this is necessary.
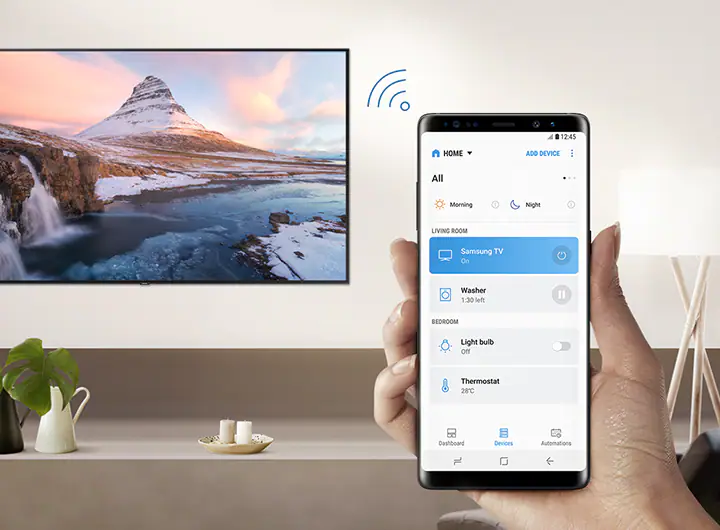
Step 2: Enable Screen Mirroring on Your Smart TV
Look for the “Screen Mirroring” or “Smart View” option in the settings menu on your smart TV. For your TV to receive the display from your mobile device, turn on screen mirroring.
Step 3: Access Screen Mirroring on Your Smartphone
On your smartphone, go to the settings menu or the quick settings, depending on the model of your device. To start screen mirroring, look for the “Screen Mirroring,” “Smart View,” or “Cast” option and turn it on.
Step 4: Connect to Your Smart TV
Turning on screen mirroring on your smartphone will look for compatible devices to connect to. Choose your smart TV from the list of compatible devices to make the connection.
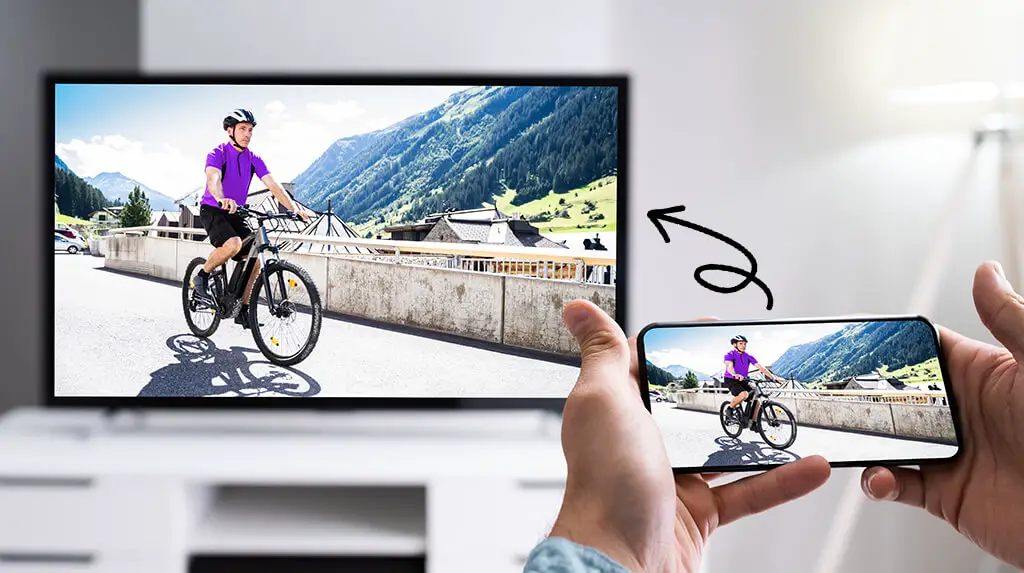
Step 5: Display Your Mobile Screen
Your mobile device’s content will be projected onto your smart TV’s larger screen once the connection has been made. On the larger canvas, you can now use your smartphone’s UI to explore, view photographs and videos.
Wireless Display Adapters
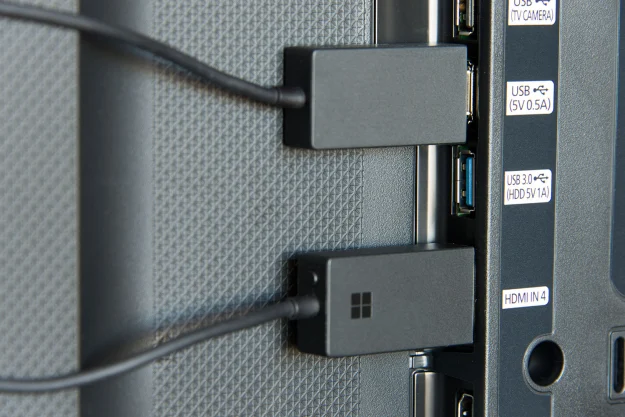
With the help of wireless display adapters, you may use HDMI connectivity to mirror your smartphone’s screen onto a larger display. Here is how to use wireless display adapters to mirror the screen of your mobile device onto a larger display, step by step:
Step 1: Acquire a Wireless Display Adapter
Invest in a wireless display adaptor that works with HDMI. Look for adapters with the necessary characteristics, such as multiple device connections, that are compatible with your TV or projector.
Step 2: Connect the Adapter to the TV/Projector
Connect the wireless display adapter to a projector or TV’s available HDMI connection. Make sure the adaptor is firmly attached.
Step 3: Power Up the Adapter
Power up the wireless display adapter by joining it to a power supply using the supplied USB cable and power adapter.
Step 4: Enable Screen Mirroring on Your Mobile Device
Enable screen mirroring on your smartphone by going to the quick settings or settings menu. Look for the “Cast” or “Screen Mirroring” option.
Step 5: Scan for Available Devices
Once screen mirroring is enabled, your mobile device will search for available wireless display adapters to connect to. From the list, choose your wireless display adapter.
Step 6: Establish the Wireless Connection
Follow the on-screen instructions to connect your mobile device wirelessly to the wireless display adapter.
Step 7: Display Your Mobile Screen
Your mobile device’s content will be wirelessly projected onto the bigger display attached to the wireless display adapter after the connection has been made.
Step 8: Switch Between Devices (Optional)
You can switch between different phones without having to detach and rejoin if your wireless display adapter supports multiple device connections.
Step 9: Adjust Display Settings (Optional)
If necessary, change the display options on your smartphone to enhance your watching experience on the bigger screen.
Mirrors and Magnifying Glasses
Mirrors and magnifying glasses are a cheap, temporary solution that can significantly help. A magnifying glass can enlarge and project the light from your mobile device’s screen, or you can put a mirror to reflect the screen’s image onto the wall. These techniques might not provide the best images but they are quick and easy substitutes.
Conclusion
Your mobile device’s screen can be projected onto a wall without a costly projector. You may use cutting-edge techniques and programs to turn any wall into a blank canvas for your presentations, entertainment, or creative endeavors.
The options are unlimited, whether using screen mirroring apps, Chromecast, building a DIY projector, or smart TVs and wireless display adapters. Enjoy the convenience and portability of mobile screen projection while embracing its flexibility.
REFERENCES
- https://www.quora.com/Is-there-any-app-that-can-make-my-Android-phone-a-projector
- https://www.neowin.net/forum/topic/1297330-is-there-a-free-app-that-lets-you-project-what-is-on-your-phone-on-a-wall/
- https://www.youtube.com/watch?v=3nPnp68sdUU
- https://www.reddit.com/r/projectors/comments/akr9a0/trying_to_find_a_way_to_project_things_on_a_wall/
- https://www.screenbeam.com/learn-more/wireless-display-for-home/what-is-a-wireless-display-adapter/

Fernando Shrader
Hey, It’s me, Fernando Shrader. I’m the creator of this website. You might wonder why I’ve created this blog and what’s the difference between Visual Finds and other online blogs. As a professional technician working for the last 8 years with projectors, I though this is the right time to share what I’ve learned in this journey with an online audience so they can see what I’m doing and how they can solve their problems! Happy Learning!