
A projector screen that is too big for your space can be annoying. It takes up a lot of room and makes determining the correct viewing distance difficult. Are you concerned about the projector screen’s ability to be made smaller? Therefore, relax because you are in the right place!
The size of the projected picture will change depending on how near the projector is to the screen and how far it is from the screen. If the zoom control ring on the projector. This can also be used to change the size of images.

This article will show you how to reduce the size of your projector screen without compromising the caliber of your movie nights. Whether you want to maximize your space or have a dedicated home theater, we have you covered. Let’s dive in and learn how to resize your projector screen easily.
Method 1. Adjust the Projector’s Zoom Lens Settings
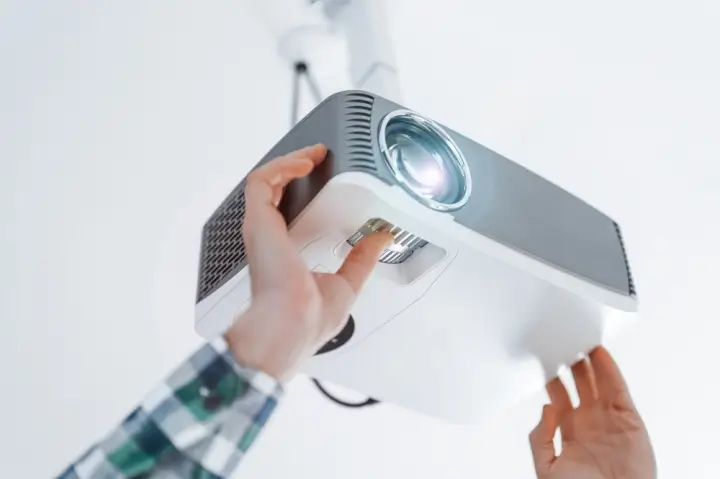
Changing the projector’s zoom lens settings can significantly affect how precisely you can control the size of your enlarged projector screen. How to do it is as follows:
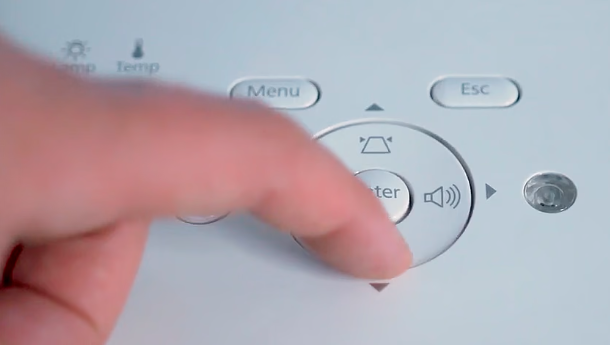
1. Access the Zoom Settings
Most projectors have a zoom lens that lets you increase or reduce the projected image. To discover the zoom options, use the remote control or menu on the projector.
2. Zoom In or Out
If you want the image to be larger or smaller on the screen, use the projector’s controls to zoom in or out. You can often find dedicated zoom buttons on the remote control.
3. Focus on Image Quality
Pay close attention to image quality while adjusting the zoom. Ensure that the image remains sharp, clear, and properly focused. Some projectors might have an auto-focus feature that can help with this.
4. Test and Fine-Tune
Project an image onto your resized screen and assess how well it fits within the new dimensions. Take your time to find the optimal balance between screen size and image clarity.
5. Consider Keystone Correction
Depending on how much you’ve adjusted the zoom, you might need to use Keystone correction to eliminate any distortion caused by the projector’s angle. Keystone correction settings can often be found in the projector’s menu.
6. Calibrate Colors
Check and change the zoom settings as you do the colors to ensure they stay accurate and brilliant. Having accurate color calibration enhances the viewing experience.
7. Test Different Content
To make sure that the scaled screen and zoom settings function properly in diverse contexts, project a variety of content kinds, including movies, presentations, and photographs.
For the convenience of our valued users, I’ve included a YouTube link below. This video demonstrates how to adjust the size of a projector display to a smaller dimension.
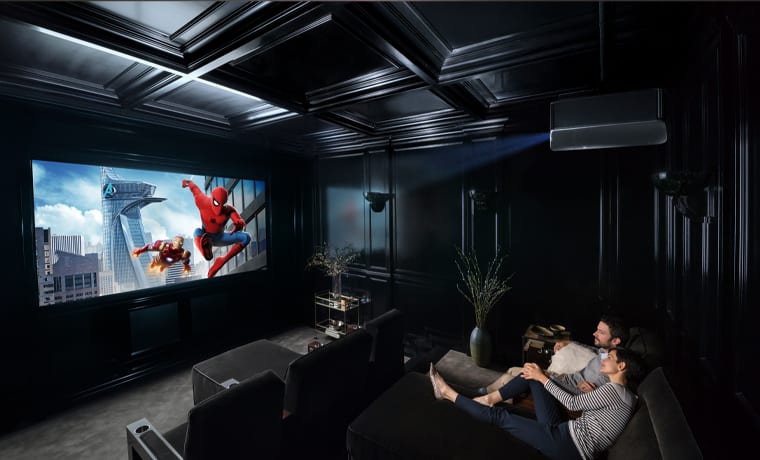
Method 2. Adjust the Position of the Projector
Step No 1. Assessing Your Setup
Measuring Available Space
Measure the size of the wall or area where your projector screen is currently installed to get started. You can use this dimension to calculate the largest screen size that will fit in your space without overpowering it.
Considering Viewing Distance
In addition to the viewing distance from your seating area, consider the distance between your projector and the screen. You may sit closer and have a more immersive experience with a smaller screen.
Step no 2. Choosing the Right Screen Size
Aspect Ratio Explained
Aspect ratios for projector screens include 16:9 and 4:3. The aspect ratio impacts the screen’s width and height. Select the one that best fits the size and shape of your viewing area.
Selecting an Appropriate Screen Size
Choose a screen size that best balances immersion and comfort based on your measurements and the desired viewing distance.
While I’ve provided a step-by-step guide, you can further enhance your understanding using the YouTube video below. Click on the link to gain more insights.
Step no 3. Gathering the Necessary Tools
Tools and Materials Needed
A measuring tape, scissors, a sewing kit (if necessary), and any other items needed for your chosen approach should all be present before you start.
Step no 4. Preparation and Safety
Clearing the Area
Make sure the space around the screen is unobstructed and uncluttered. You will have plenty of room to work, and accidental harm will be avoided.
Safety Precautions
Always put safety first. Use caution when using tools, such as scissors, to prevent harm. Consider asking for help if a step makes you uncomfortable.
Step no 5. Adjusting the Projector Settings
Resizing the Image Output
To change the image output, access your projector’s settings. The majority of projectors can resize the image to suit the screen adequately.
Maintaining Image Quality
While resizing, ensure that the image quality remains crisp and clear. Adjust other settings like focus and keystone correction if necessary.
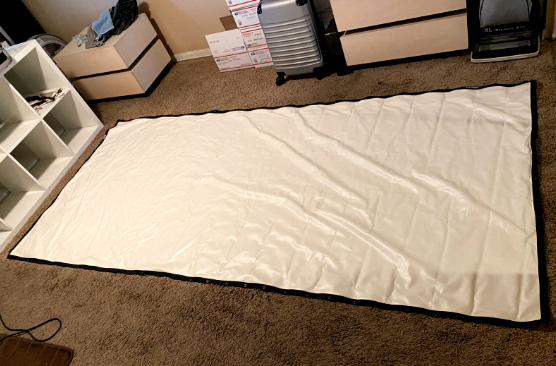
Step no 6. Resizing the Screen Manually

DIY Techniques for Reducing Screen Size
Explore DIY methods such as folding the screen material or using clips to create temporary folds. This can help you achieve a smaller screen size without permanent alterations.
Using Adjustable Screen Frames
Some projector screens come with adjustable frames that allow you to customize the screen size. Follow the manufacturer’s instructions to make the necessary adjustments.
Step no 7. Trimming the Screen Material
Marking the Desired Size
Using a pencil or chalk, mark the edges of the screen material to indicate the desired dimensions.
Cutting and Hemming the Edges
Carefully cut along the marked lines using sharp scissors. Consider hemming the edges for a clean finish if your screen material tends to fray.
I am adding a Reddit link here for your convenience. This link will help you gather information and insights from various community members, which should help clear any confusion.
Step no 8. Modifying Motorized Screens
Adapting Motorized Screens
For motorized screens, consult the user manual to see if resizing is possible. Some screens have adjustable limits that can be set according to your preferences.
Ensuring Smooth Retraction
After resizing, test the motorized screen’s retraction mechanism to ensure it operates smoothly and without obstructions.
Step no 9. Testing and Calibration
Checking Image Alignment
Once the screen is resized, project an image onto it and check for proper alignment. Adjust the screen’s position if needed.
Calibrating Colors and Focus
Fine-tune the projector settings to achieve accurate colors and sharp focus on the resized screen.
Step no 10. Enhancing Aesthetics
Concealing Edges
If the trimmed edges look uneven or unfinished, use decorative trim or fabric tape to conceal them.
Adding Decorative Borders
Enhance the aesthetics of your resized screen by adding decorative borders or frames that complement your room’s decor.
Method 3. Alternate Solutions for Small Spaces
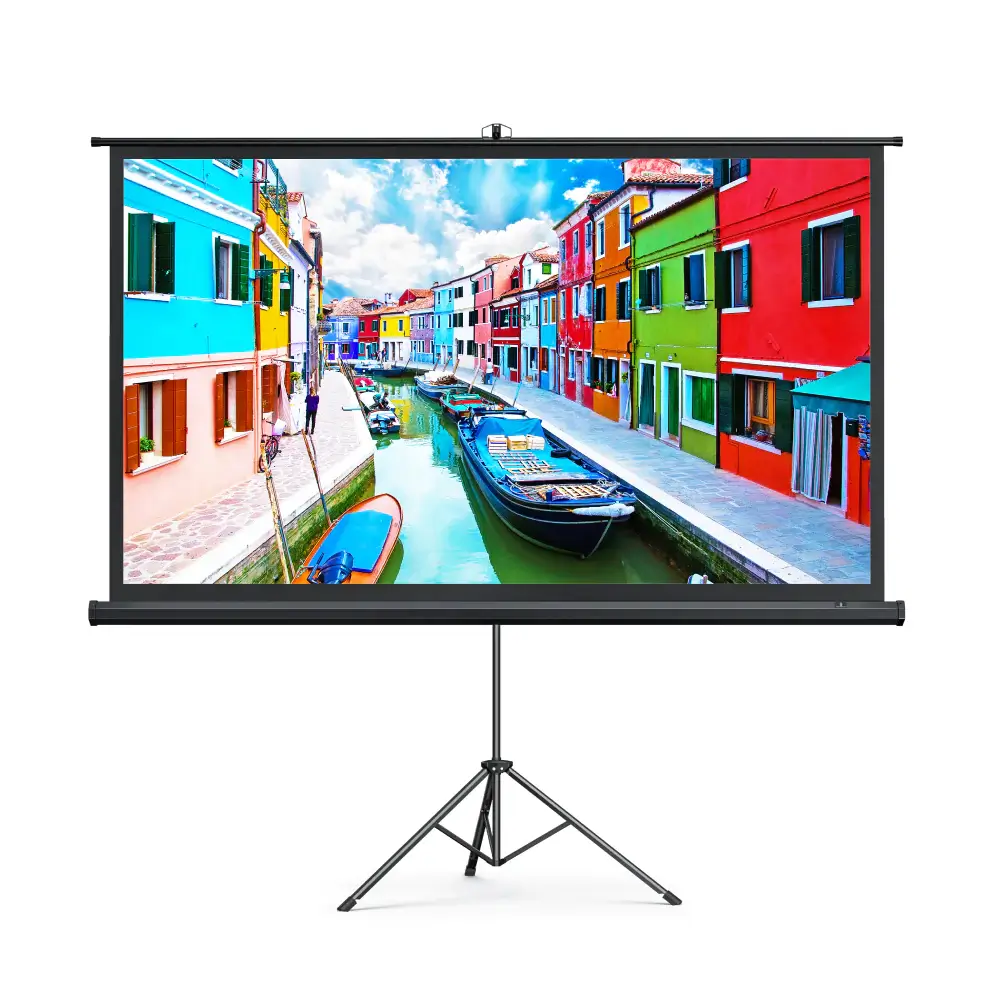
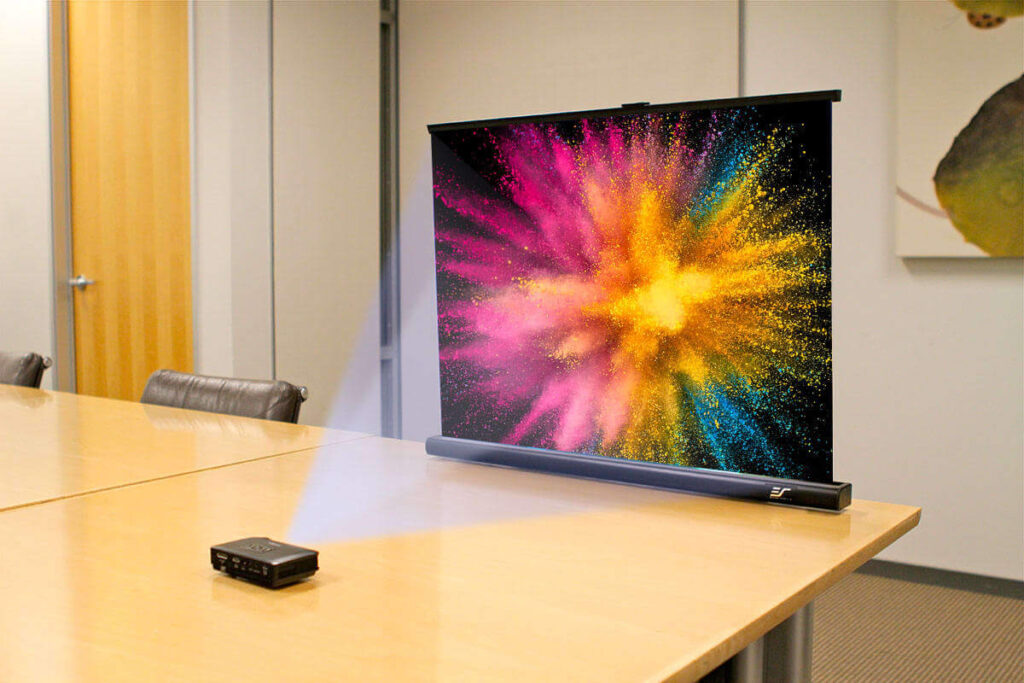
1. Using Portable Screens
If you frequently change your setup or have limited wall space, consider using a portable projector screen that can be easily adjusted and stored.
2. Opting for Wall Paint
Innovative options like screen paint allow you to transform a section of your wall into a high-quality projection surface.
For the ease of our valued users, I have added another Reddit link. This link can assist you in adjusting the screen size of your projector with simplicity.
Benefits of a Small Projector Screen
Now that you’ve understood all the methods and their processes let’s take a closer look at the benefits of employing these techniques.
Enhanced Immersion: A smaller screen creates a more immersive viewing experience by allowing you to sit closer to the action.
Optimized Space: Utilize limited room space efficiently, making your entertainment area more versatile and comfortable.
Crisper Image Quality: A smaller screen can reduce the need for excessive projector zoom, resulting in sharper and clearer images.
Easier Installation: Smaller screens are easier to install and adjust, saving time and effort during setup.
Reduced Eye Strain: The smaller screen size can help prevent eye strain, especially during prolonged viewing sessions.
Improved Focus: With a smaller screen, achieving and maintaining optimal focus becomes simpler, contributing to a better visual experience.
Flexible Seating: Enjoy flexible seating arrangements, accommodating more guests and providing everyone with an optimal view.
Enhanced Aesthetics: A smaller screen can blend seamlessly into your room’s decor, enhancing its overall aesthetics.
Cost Savings: Smaller screens may be more cost-effective than larger screens in terms of screen material and projector requirements.
Frequently Asked Questions
Can I resize any projector screen?
Most projector screens can be resized to some extent. However, the methods may vary depending on the type and design of the screen.
Will resizing the screen affect image clarity?
When done correctly, resizing the screen should not significantly impact image clarity. Proper calibration is critical to maintaining image quality.
Do I need professional help to resize my screen?
While some methods can be DIY, seeking professional assistance is recommended if you need clarification on the process or if your screen is complex.
Can I use regular scissors to trim the screen material?
Using sharp fabric scissors is ideal for clean cuts. Regular scissors may cause fraying or uneven edges.
What do I do if my projector doesn’t have adjustable settings?
If your projector lacks resizing options, focus on adjusting the screen size manually or consider using adjustable screen frames.
Conclusion
With the steps outlined in this article, like making a projector screen smaller, adjusting its zoom, or moving it closer to the screen for a desired and compact display size. You now have the tools and knowledge to resize your projector screen confidently.
Smaller screen sizes can significantly enhance your home entertainment experience, making movie nights and presentations more enjoyable. Remember to prioritize safety, take your time, and don’t hesitate to seek professional assistance if needed.
REFERENCES
- https://support.viewsonic.com/en/support/solutions/articles/33000222311-how-to-adjust-the-image-size-on-a-projector-
- https://community.spiceworks.com/topic/213974-making-projector-screen-size-smaller-w-out-moving-device-closer
- https://www.avsforum.com/threads/projector-screen-size-help.3238485/
- https://www.reddit.com/r/DIY/comments/v9th10/making_a_projector_display_smaller/

Fernando Shrader
Hey, It’s me, Fernando Shrader. I’m the creator of this website. You might wonder why I’ve created this blog and what’s the difference between Visual Finds and other online blogs. As a professional technician working for the last 8 years with projectors, I though this is the right time to share what I’ve learned in this journey with an online audience so they can see what I’m doing and how they can solve their problems! Happy Learning!