
If you’re eager to transform your projector into a TV without the hassle of a cable box, you’re in the right place.
Connect your Roku or Fire Stick to the projector via HDMI for TV streaming using apps like YouTube TV or fuboTV.
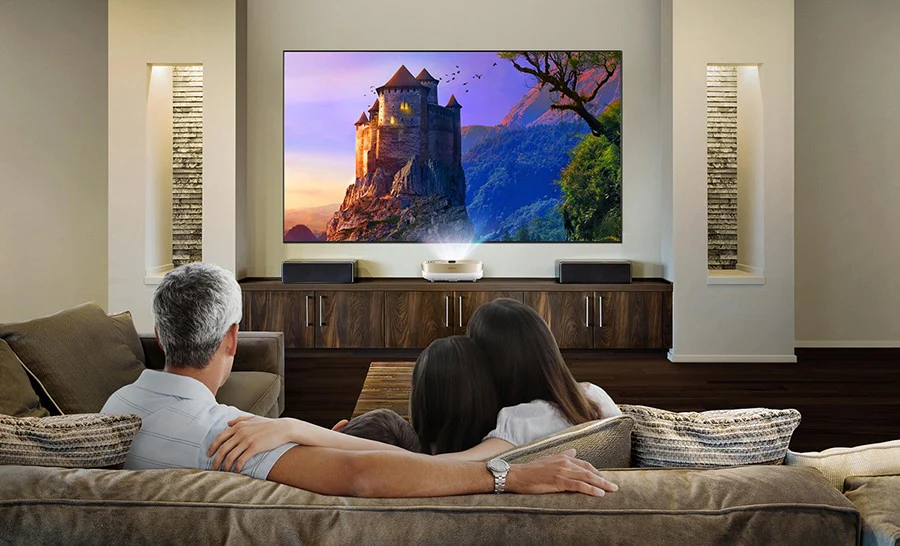
In this article, I’ll walk you through ten different methods, sharing my experiences and detailing each step. Let’s get started!
1. Streaming Devices
Streaming devices are a game-changer when turning your projector into a versatile entertainment hub. Here’s how I seamlessly connected mine:
Step 1: Acquiring a Streaming Device
After some research, I opted for a Roku streaming stick. It’s compact, affordable, and comes with a user-friendly interface.
Step 2: Connecting the Streaming Device to the Projector
Plug the Roku stick into one of the HDMI ports on the projector. If your projector lacks HDMI, don’t worry; the Roku supports alternative connections like USB or AV.
Step 3: Connecting to Wi-Fi
Turn on the Roku and follow the on-screen instructions to connect it to your Wi-Fi network. This step is essential for accessing streaming services.
Step 4: Installing Streaming Apps
Navigate to the Roku’s app store and install your preferred streaming apps—Netflix, Hulu, Disney+, you name it. Sign in or create an account if needed. The big screen is now your theater.
2. Laptop or Computer Connection
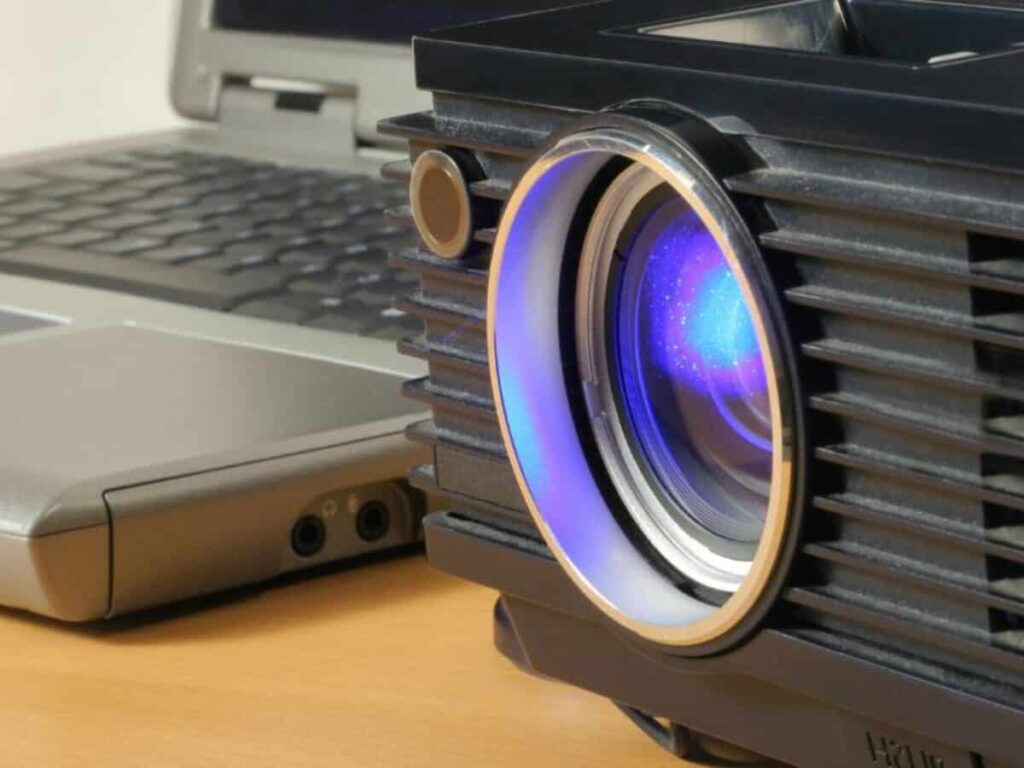
Connecting your laptop or computer to the projector opens up possibilities. Here’s how I made this happen:
Step 1: Checking Ports
Inspect the ports on your projector and laptop. Most likely, you’ll find HDMI, USB, or VGA ports. Match them up for seamless connectivity.
Step 2: Choosing the Right Cable
Select the appropriate cable based on available ports. If both devices have HDMI ports, an HDMI cable suffices. Grab an adapter (HDMI to VGA, for example) for different ports.
Step 3: Connecting the Devices
Plug one end of the cable into your laptop and the other into the projector. If using an adapter, connect the cable to the adapter first, then to the projector.
Step 4: Turning On the Projector and Laptop
Power up both devices. Most laptops detect the projector automatically, but if not, tweak display settings (on Windows, right-click on the desktop and choose “Display Settings”).
3. Mobile Devices and Mirroring
Mirror, mirror on the wall—how can I mirror my mobile device on the projector? Let me guide you through the process:
Step 1: Checking Compatibility
Ensure your projector supports connections from mobile devices through USB or HDMI. If not, look into additional adapters.
Step 2: Connecting the Mobile Device
For Android users, I opted for a USB-C to HDMI adapter. iPhone users can use a Lightning to HDMI adapter. Connect your mobile device to the projector using the appropriate cable.
Step 3: Switching to HDMI Input
Power on the projector, select the HDMI input where your mobile device is connected and watch as your mobile screen appears on the big screen.
Step 4: Enabling Screen Mirroring
On your mobile device, enable screen mirroring. Android users can find this in display settings, while iPhone users can swipe down and tap on “Screen Mirroring.” Enjoying the Show.
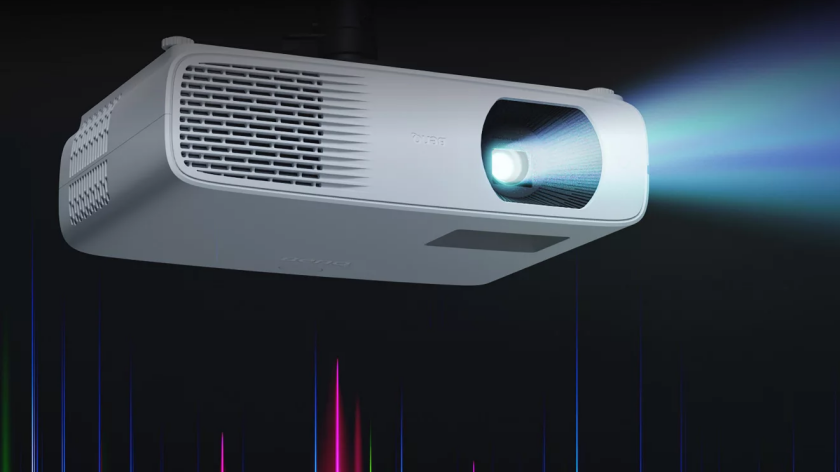
4. Smart TVs and Built-in Apps
You’re in for a treat if your projector has smart TV capabilities or built-in apps. Let me guide you through this hassle-free process:
Step 1: Checking for Smart TV Capabilities
Confirm if your projector has smart TV features or pre-installed apps. Some projectors come equipped with popular streaming services right out of the box.
Step 2: Accessing Built-in Apps
If your projector has built-in apps, navigate to the apps section. If not, check the projector’s user manual for instructions on downloading additional apps.
Step 3: Logging In or Signing Up
Before you start streaming, log in to or sign up for your preferred streaming services using your existing account credentials or creating new ones.
Step 4: Navigating to the Content
Once logged in, use the projector’s remote control to navigate to the app of your choice. Browse through the available content and select what you want to watch.
5. DVD or Blu-ray Player
Connecting a DVD or Blu-ray player to your projector is a classic yet effective method. Here’s how I did it:
Step 1: Connecting the Player
Locate an available HDMI port on your projector and connect the HDMI cable from your DVD or Blu-ray player to this port.
Step 2: Inserting the Disc
Insert the DVD or Blu-ray disc into the player. Most projectors automatically detect the input source; if not, use the projector’s menu to select the HDMI input.
Step 3: Navigating the Menu
Use the DVD or Blu-ray player menu to select the show or Movie you want to watch. Sit back and let the player do the rest. I am now enjoying the Movie.
6. Gaming Consoles
If you’re a gaming enthusiast, using gaming consoles for streaming can be a convenient option. Let’s dive into the process:
Step 1: Connecting the Console
Find an available HDMI port on your projector and connect your gaming console (Xbox, PlayStation) using an HDMI cable.
Step 2: Accessing the App Store
Power on your gaming console and navigate to the app store. Download streaming apps like Netflix or Hulu directly onto your console.
Step 3: Logging In
Log in to your streaming accounts within the apps. If you don’t have an account, sign up to gain access to a vast library of content.
Step 4: Selecting Content
Use the console’s interface to select the content you want to watch. With a vast array of streaming options at your fingertips, the entertainment possibilities are limitless.
7. Media Players
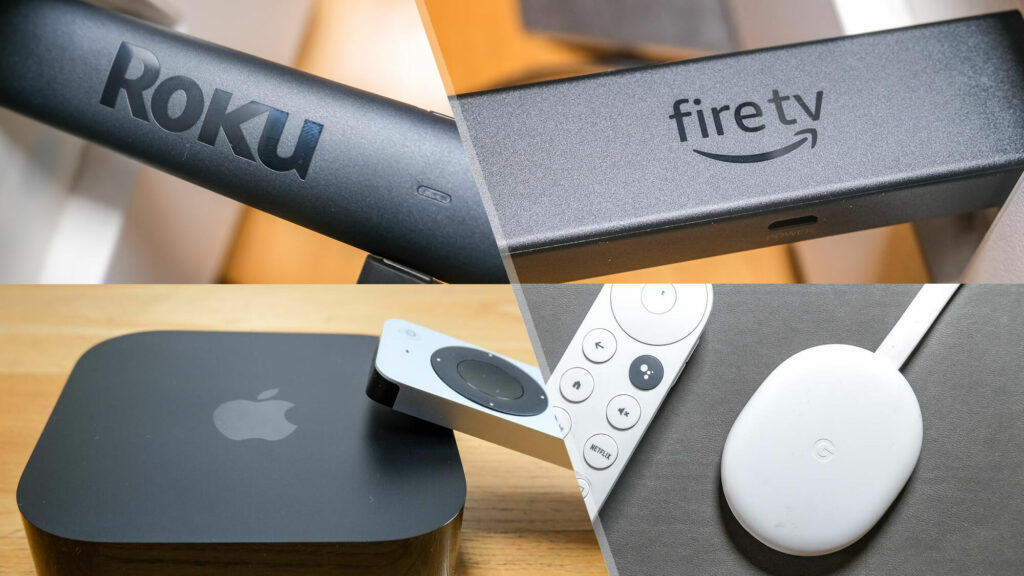
Standalone media players, such as Apple TV or Roku, can turn your projector into a powerhouse of entertainment. Here’s how I seamlessly integrated a media player:
Step 1: Acquiring a Media Player
Choose a media player that suits your preferences. I went with an Apple TV for its user-friendly interface and seamless integration with other Apple devices.
Step 2: Connecting the Media Player
Connect the media player to your projector using an HDMI cable. Ensure that both devices are powered off before making the connection.
Step 3: Setting Up Wi-Fi
Power on the media player and follow the on-screen instructions to connect it to your Wi-Fi network. This step is crucial for accessing streaming services.
Step 4: Installing Streaming Apps
Once connected to Wi-Fi, visit the media player’s app store and install your preferred streaming apps. Log in to your accounts or create new ones if needed.
8. Casting from a Computer
Casting content from your computer to the projector provides flexibility and convenience. Here’s how you can seamlessly cast your favorite shows:
Step 1: Ensuring Wi-Fi Connectivity
Ensure your computer and projector are connected to the same Wi-Fi network. This step is crucial for smooth casting.
Step 2: Opening the Streaming Platform
Launch the streaming platform on your computer. Whether it’s Netflix, Hulu, or any other service, ensure you have an active subscription.
Step 3: Looking for the Casting Icon
While playing your chosen content, look for the casting icon within the streaming platform. This icon typically resembles a rectangle with signal waves.
Step 4: Selecting the Projector
Click on the casting icon and select your projector from the list of available devices. Your computer is now wirelessly connected to the projector. Play your chosen content on your computer, mirrored on the projector.
9. USB Drive or External Hard Drive
Loading your favorite shows onto a USB drive or external hard drive provides a straightforward way to enjoy content on your projector. Here’s how I did it:
Step 1: Loading Content onto the Drive
Transfer your favorite shows or movies onto a USB or external hard drive using your computer. Ensure the files are in a format compatible with the projector.
Step 2: Connecting the Drive
Plug the USB or external hard drive into the projector using the appropriate port. Most projectors have a USB input for easy connectivity.
Step 3: Navigating the Menu
Use the projector’s menu to navigate to the USB input. The projector will detect the drive, and you’ll see a list of the available content on the big screen.
10. TV Tuner
Watching traditional TV channels becomes a breeze if your projector has a built-in TV tuner or you opt for an external tuner. Let’s explore this method step by step:
Step 1: Checking for a Built-in TV Tuner
Determine if your projector has a built-in TV tuner. If not, you can purchase an external TV tuner that connects to the projector.
Step 2: Connecting the TV Tuner
Connect the TV tuner to the projector using HDMI or other compatible ports. Ensure that both devices are powered off before making the connection.
To make it more convenient for you, I’ve added a forum to gather additional information. Feel free to explore the forum for more insights on watching TV on a projector without a cable box.
Step 3: Setting Up the TV Tuner
Power on the TV tuner and follow the on-screen instructions to set it up. This typically involves scanning for available channels in your area.
Step 4: Navigating Channels
Once the TV tuner is set up, use its interface to navigate through available channels. Most tuners come with a remote control for convenient channel surfing. Sit back, relax, and enjoy traditional TV channels directly on your projector.
Conclusion
Connecting a streaming device like Roku or Fire Stick to your projector via HDMI offers seamless access to live television through apps like YouTube TV or fuboTV. Additionally, some projectors with native apps, such as those built on platforms like Android TV, provide a direct and integrated streaming experience. Explore these options to enhance your projector-based TV enjoyment effortlessly.
REFERENCES
- https://www.lifewire.com/use-projector-as-tv-5121026#:~:text=Streaming%20device%3A%20If%20you%20have,TV%20and%20run%20apps%20natively.
- https://downhomedigital.net/home-projectors/watch-tv-on-projector-without-cable-box/
- https://www.justprojectors.com.au/blog/connecting_free_to_air_television_to_a_projector.htm
- https://theproductanalyst.com/watch-tv-on-projector/

Fernando Shrader
Hey, It’s me, Fernando Shrader. I’m the creator of this website. You might wonder why I’ve created this blog and what’s the difference between Visual Finds and other online blogs. As a professional technician working for the last 8 years with projectors, I though this is the right time to share what I’ve learned in this journey with an online audience so they can see what I’m doing and how they can solve their problems! Happy Learning!